How to Contour Your Face with Makeup
We’ve all admired the perfectly chiseled cheekbones and sleek jaw lines of celebrities strutting the red carpet and models gliding down the runway. Genetically blessed though they are, these paragons of beauty have a few insider tricks; they know how to emphasize their best features and downplay their flaws, thus creating an illusion of goddess-like perfection. One indispensable technique is facial contouring — the subtle sculpting and shaping of one’s face with artfully applied makeup.
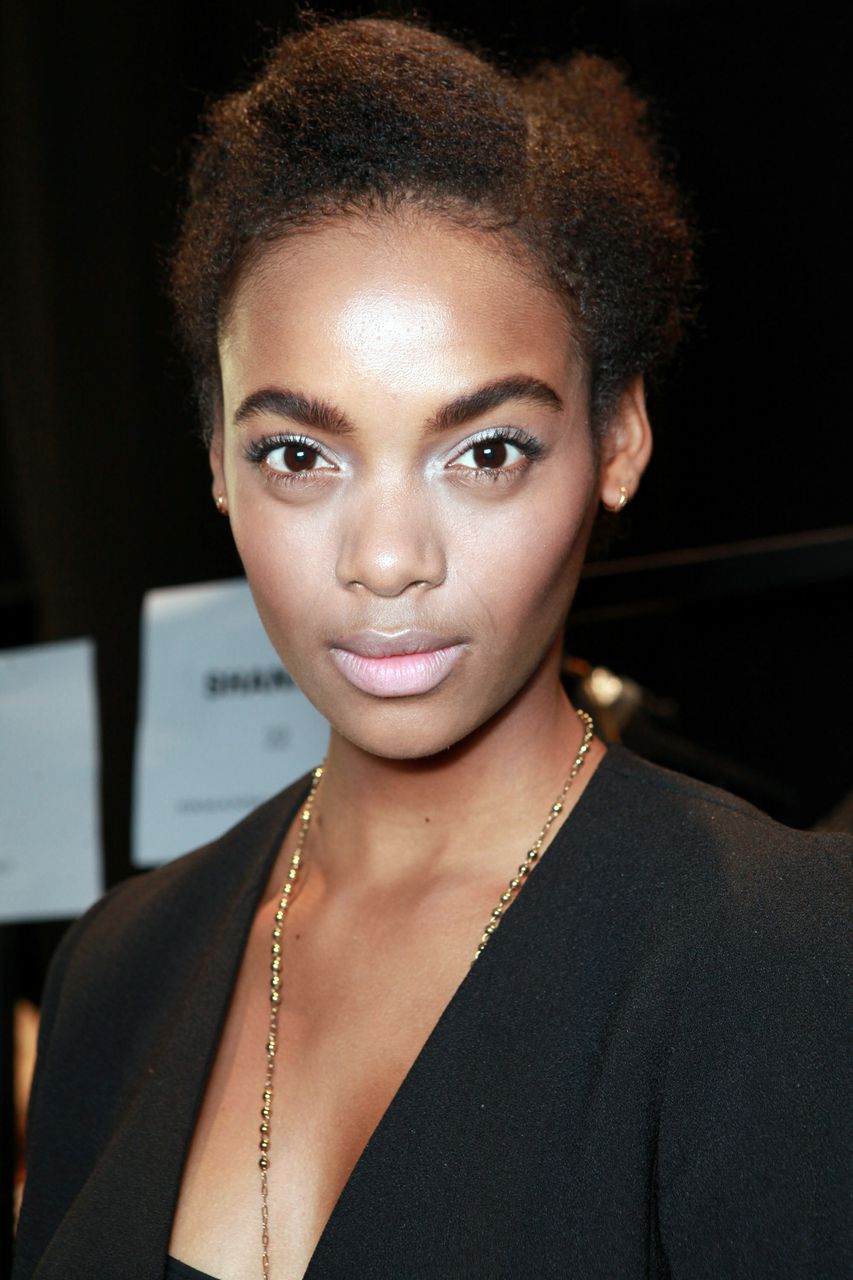
Contouring done right (Photo: Catwallking.com)
Knowing the correct techniques for facial contouring with makeup will give you that finished look that comes with a perfectly defined face. With contouring you can create fierce cheekbones, slim a wide jaw and create definition — all you need is the right makeup palette, tools and a mastery of the basic technique.
The tools
You’ll need to invest in a good angled brush — try MAC’s 168 Large Angled Contour Brush, which applies both bronzer and blush perfectly.
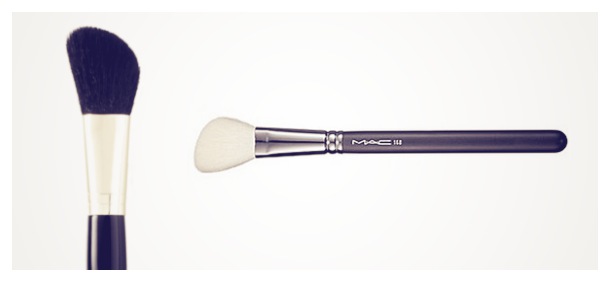
Angled contour brush (Photo: MAC Cosmetics)
For makeup you’ll want to procure a dark matte shade for creating shadow, a light shimmery powder or cream for highlighting and a blush that complements your complexion. As makeup artist Linda Hay explains: “Contouring can be very technical, but the basic theory is that you want to use dark, matte shades on areas you want to recede and absorb light, such as the sides of the nose and pockets of the cheeks and light, shimmery shades on those you want to bring forward and reflect light, like the tops of the cheeks.”
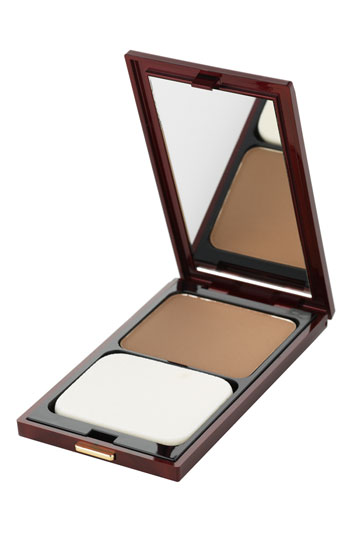
Kevin Aucoin Sculpting Powder (Photo: Kevin Aucoin Cosmetics)
Hay recommends contouring kits, such as Smashbox’s Step-By-Step. I also like Kevin Aucoin’s Sculpting Powder and Makeup Forever also makes a great kit. Bronzing powders can also work well for sculpting, but you’ll want a matte finish — no shimmer. Obviously, the color you select should work with your skin tone to create a natural-looking shadow that’s not too harsh. You’ll also require a good blush (or medium tone powder) to accentuate your cheeks and enliven the effects of contouring.
Since the artistry of facial sculpting relies on the interplay of light and shadow, you’ll need highlighter to create the “light.” One of my personal favorites is RMS Beauty Living Luminizer (it’s made with organic ingredients!)
The technique
Create cheekbones: with your angled brush, sculpt under the hollow of the cheekbones and move diagonally down toward the jaw line. Remember to keep blending.
Sweep blush or the medium tone on the apples of the cheeks, parallel to the jaw line and into the hollows of the cheeks and blend. This step adds dimension.
Finally, apply highlighter (or the lightest color in your contouring kit) to the top of the cheeks, under the eyes and on the brow bone.
Slim/define nose: using a small brush, brush contouring powder along the sides of the nose. To make your nose look straighter and more defined, add highlighter on the bridge. You can dab a touch of highlighter to the top of the chin to balance your face. Highlight the areas you want to bring forward and shade the areas you want to recede.
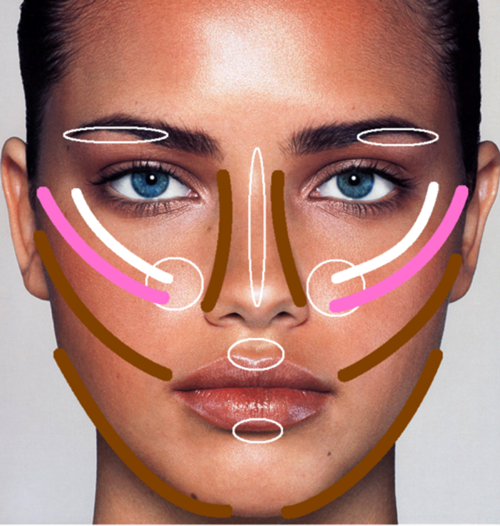
Light and shadow for your face (Photo: Birchbox.com)
Remember, subtlety is key: you want to create realistic looking shading that will define your features. Excessive chiaroscuro is not flattering, so try to exercise restraint with the contouring and don’t forget to blend.
References:
http://www.harpersbazaar.com/beauty/makeup-articles/how-to-contour-your-face#slide-5
Kevin Aucoin, Face Forward, Little, Brown and Company, First Edition, 2001


